Module Editor
The StackGen Module Editor enhances the modularity and reusability of infrastructure code by enabling you to create, import, and manage modules efficiently within the application stack. This section introduces the Module Editor, its functionalities, and how you can leverage it to streamline your Infrastructure as Code (IaC) workflows.

Module Editor Overview
The Module Editor provides a centralized space for you to create, manage, and edit Terraform modules. It enables you to define custom modules, modify their configurations, and seamlessly integrate them into your infrastructure workflows.
Navigating to the Module Editor
You can navigate to the module editor via:
- Modules: From the StackGen home page, click Modules from the navigation pane to the left. You will see all the modules you have access to in the list. Click the module to open the Module editor.
- Create Module: Navigate to the Modules page as mentioned above and click the Create Module button.
- appStack: Right click any of your custom modules in an appStack and select Open in module editor.
Understanding the Module Editor UI
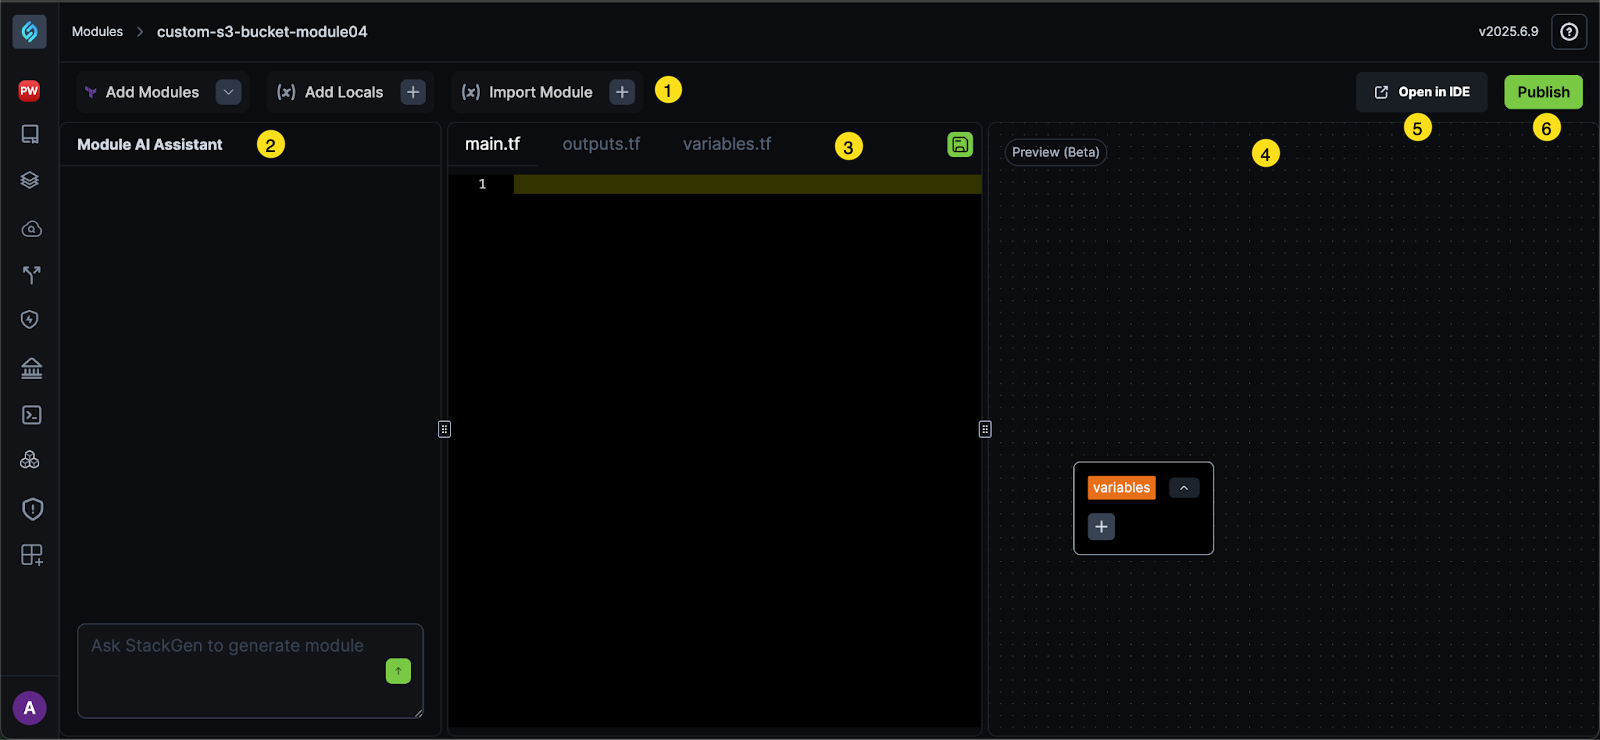
① Module Menu
Click to view
This panel consists of the following buttons:
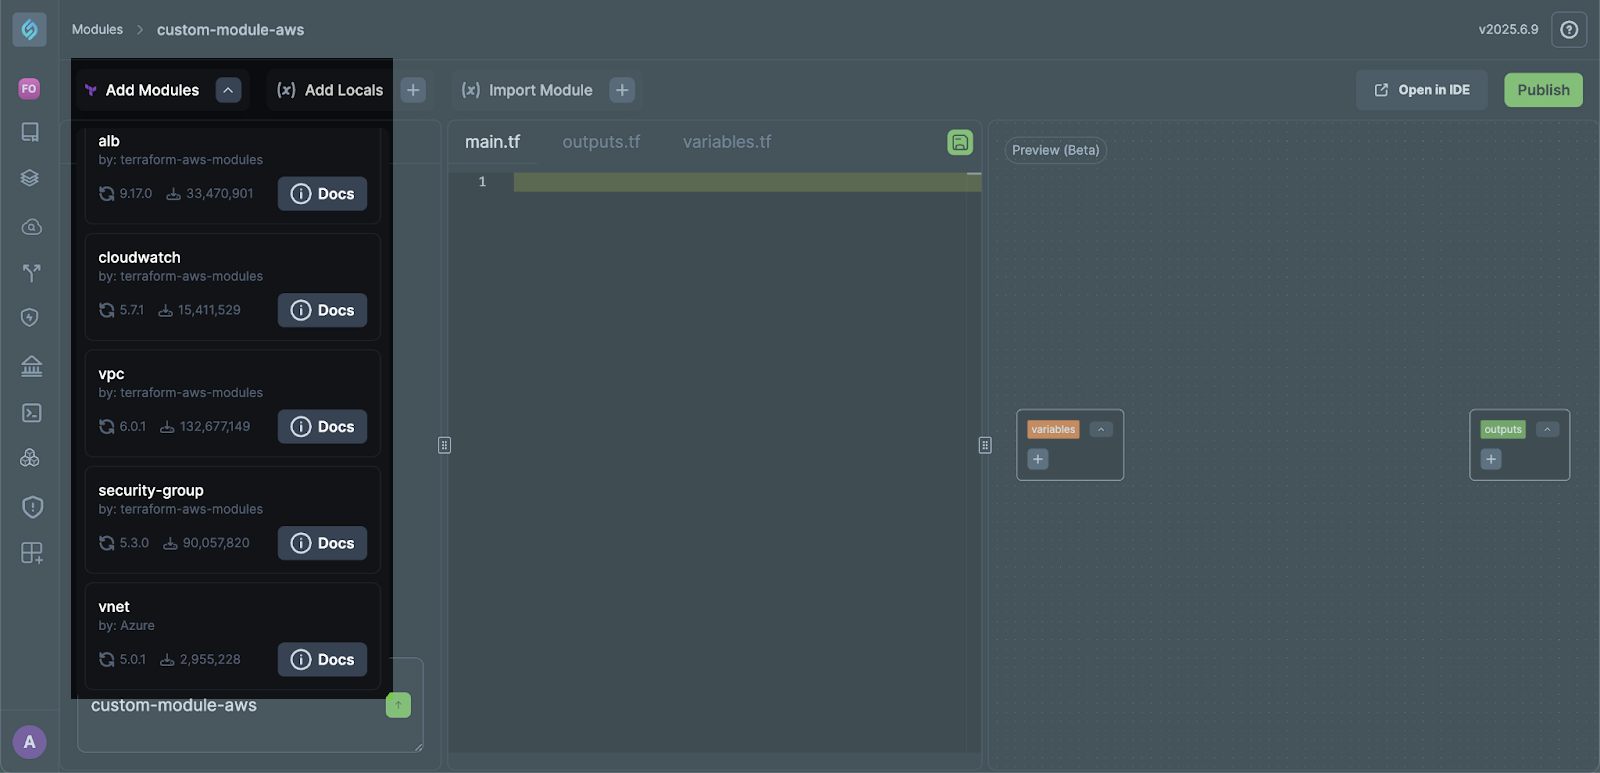
-
Add Modules: These are the most used preconfigured custom modules that are hosted by Terraform. Click ⓘ Docs next to the listed modules under Add Modules to view more information about each module.
-
Add Locals: A local value assigns a name to an expression, so you can use the name multiple times within a module instead of repeating the expression. Check out the Terraform Documentation to learn more about Locals.
-
Import Modules: You can import modules from the Terraform Registry so that others in your Team can use them via the Add Modules button.
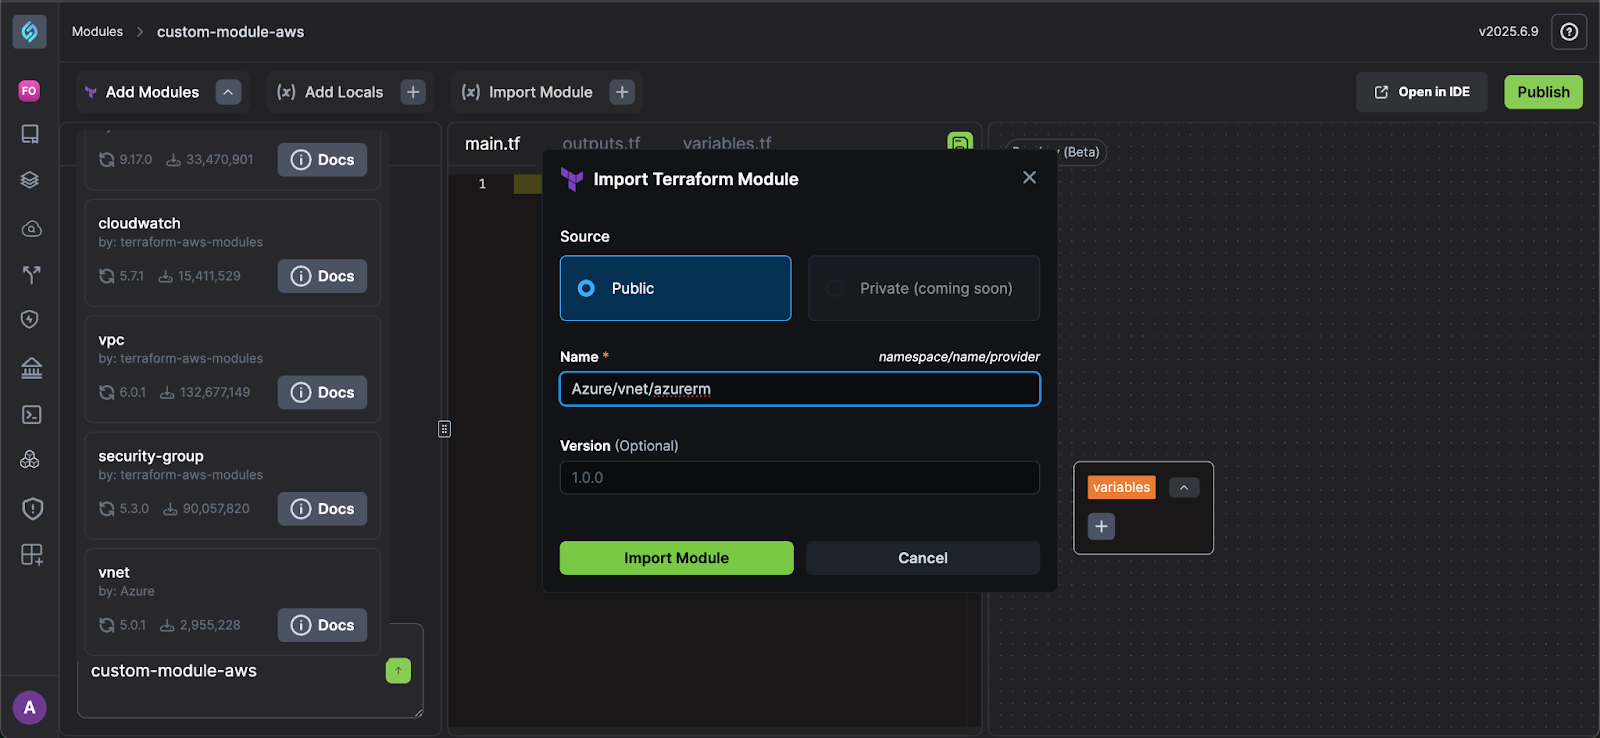
To import a module, follow these steps:
-
From the Module Editor pane, click Import Module from the Module Menu bar.
-
Copy the Terraform Registry path for your Module.
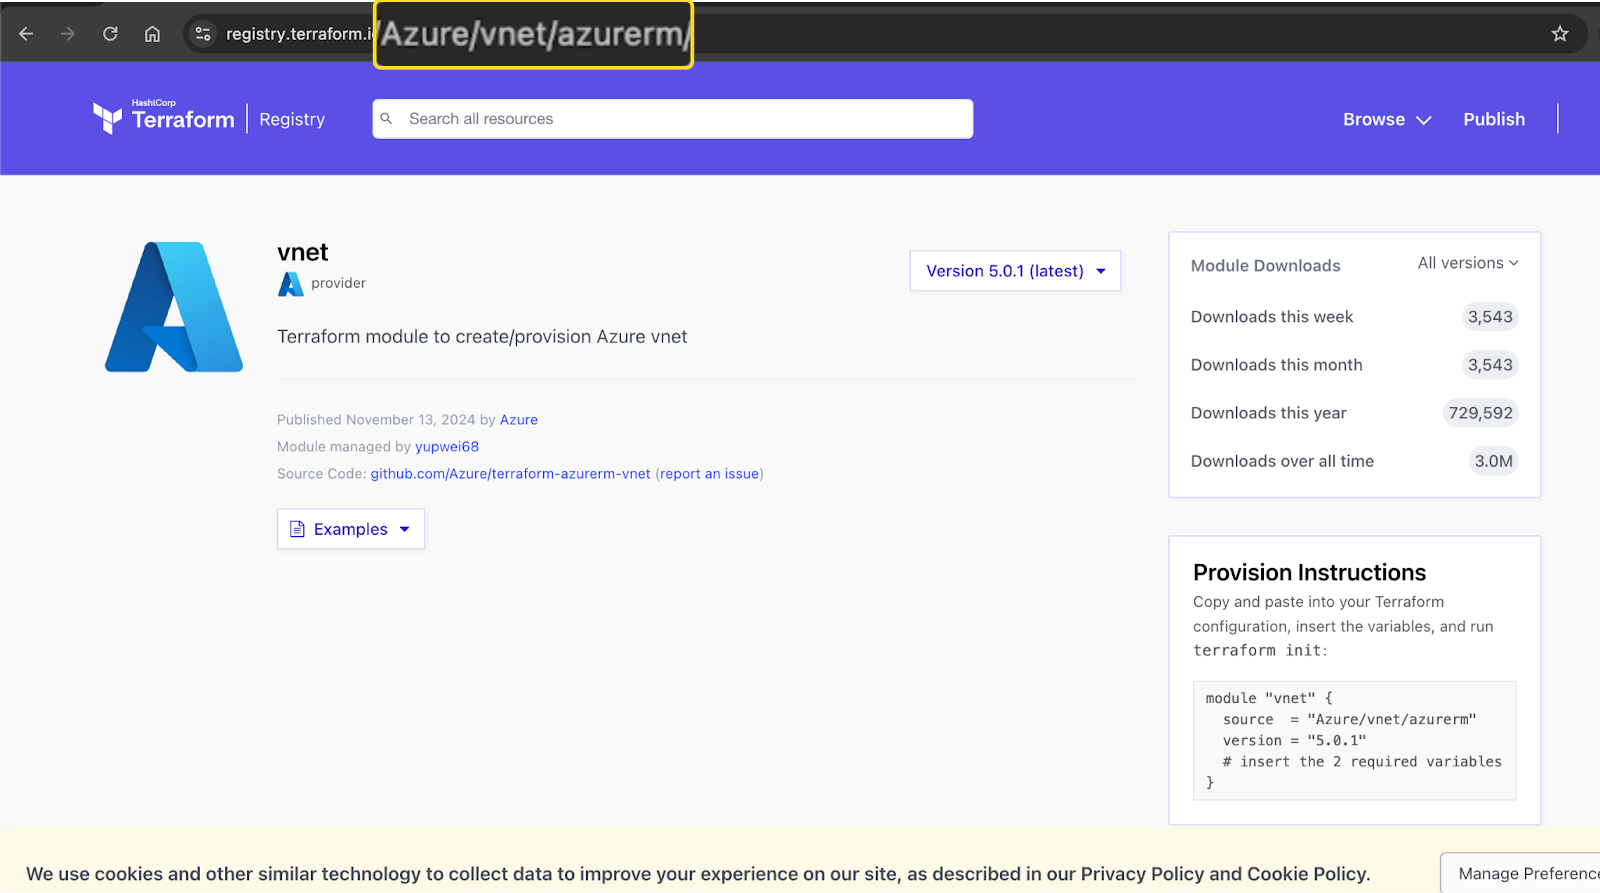
-
Enter this path in the Name field under the Import Terraform Module dialog.
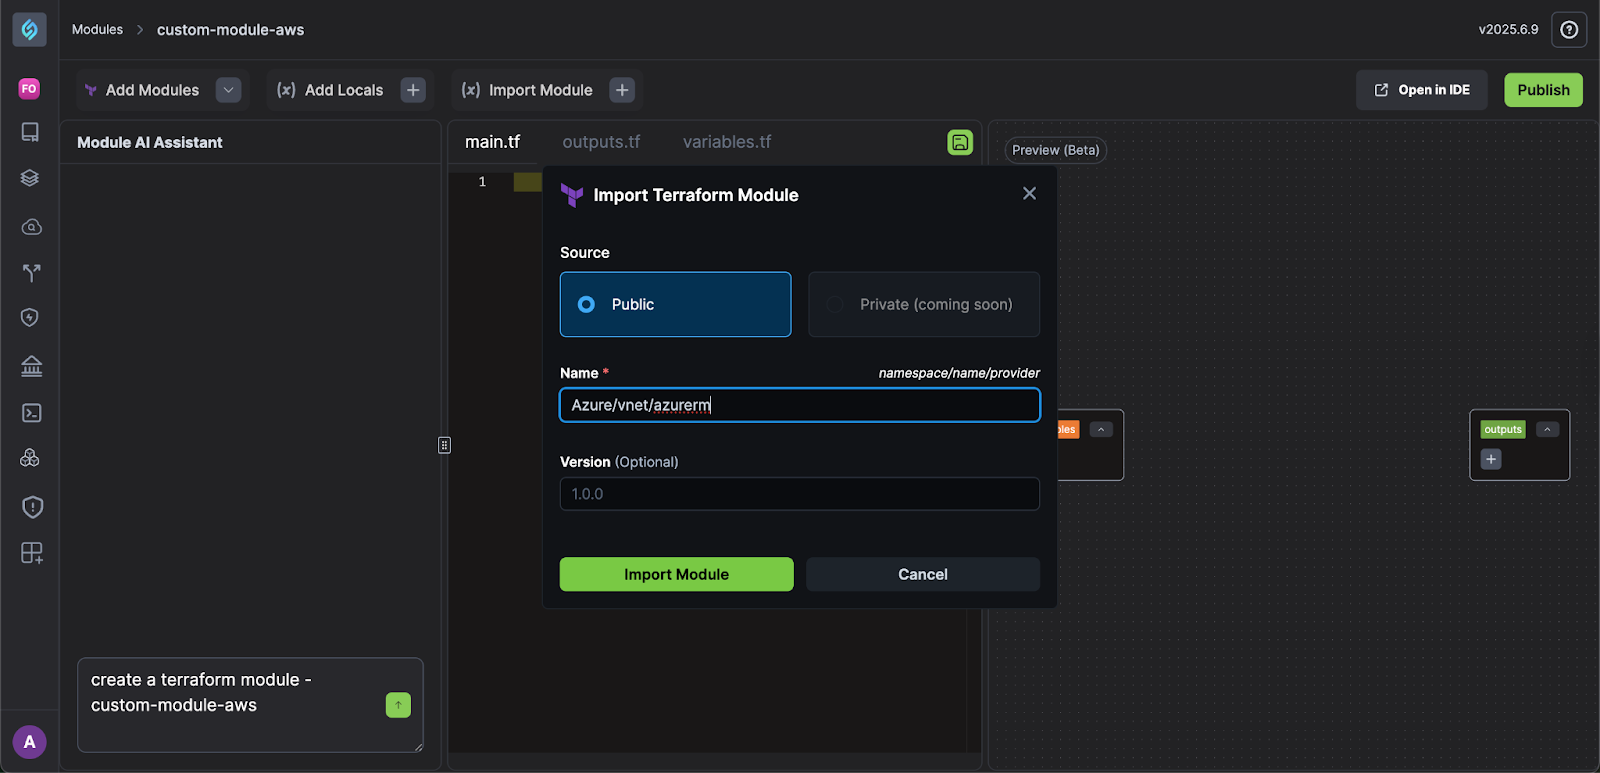
-
Click Import Module. You will see a success message
Module info retrieved successfully. -
You can view these modules under the Add Modules list:
-
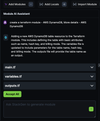
② Module AI Assistant
Click to view
The Module AI Assistant helps you quickly generate reusable Terraform modules with minimal manual effort. Simply describe the module you’d like to create (for example, create a Terraform module for AWS DynamoDB), and the assistant will automatically scaffold the required files and structure.
When you create a module, the assistant generates a standard set of files:
main.tf: Contains the core Terraform configuration defining your cloud resources.variables.tf: Defines input variables to parameterize your module and make it flexible.outputs.tf: Specifies output values that can be referenced by other configurations.
This feature allows you to:
- Rapidly prototype Terraform modules without writing boilerplate code manually.
- Standardize module structure across your team.
- Scan your modules for compliance with best-practice security policies.
- Easily customize and extend generated templates to suit your infrastructure needs.
Clicking the dropdown next to any of the configurations shows the diff between additions and deletions.
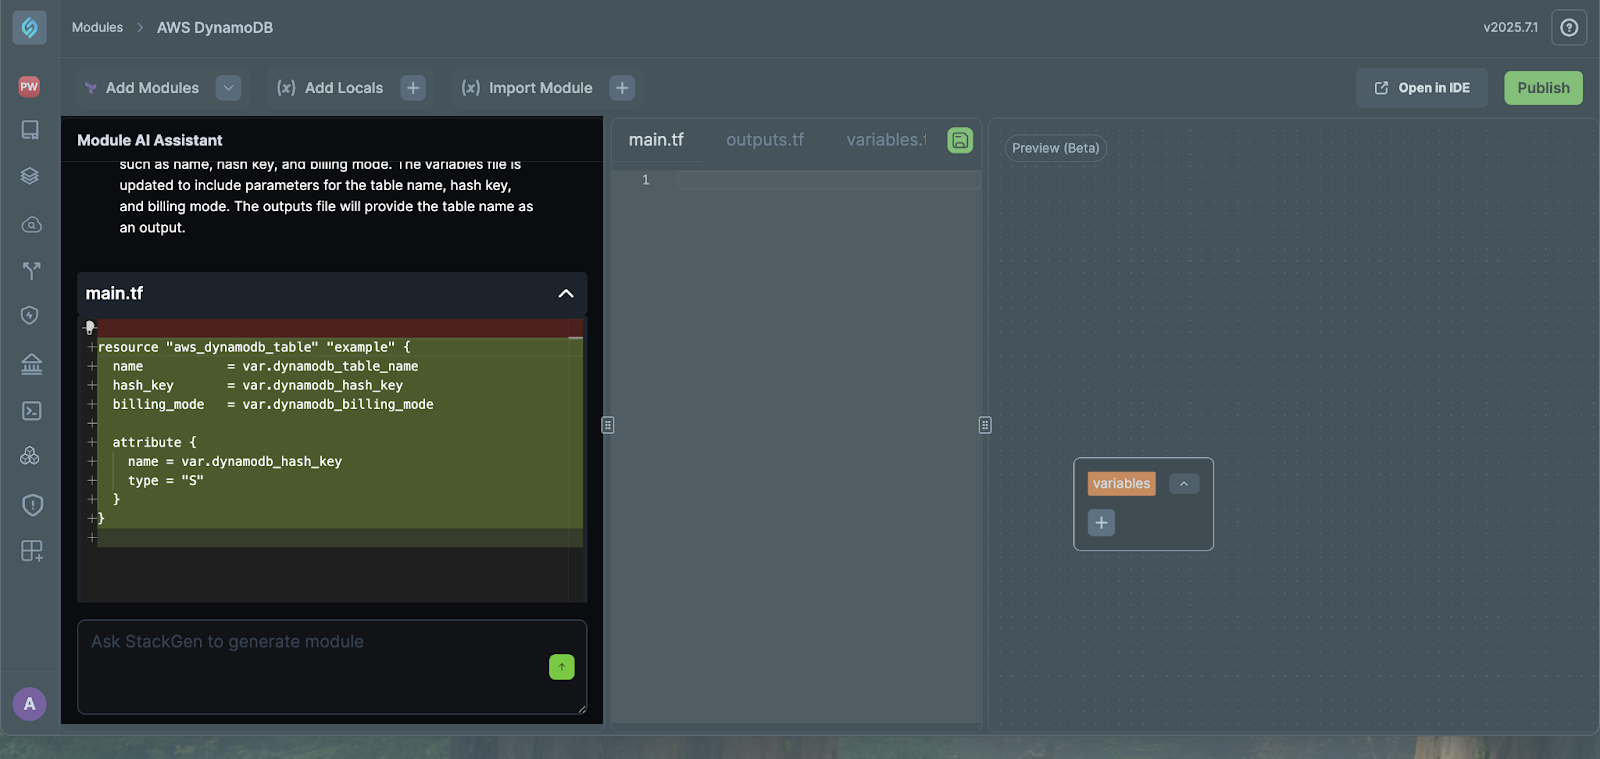
After generation, you can review, edit, and accept each file before finalizing your module. This ensures you have full control over the configuration while benefiting from AI-powered automation.
③ Module Code Editor
Click to view
The Code Editor is where you create and manage the core Terraform configuration files for your module. This editor provides an integrated, syntax-aware environment to help you define infrastructure resources efficiently.
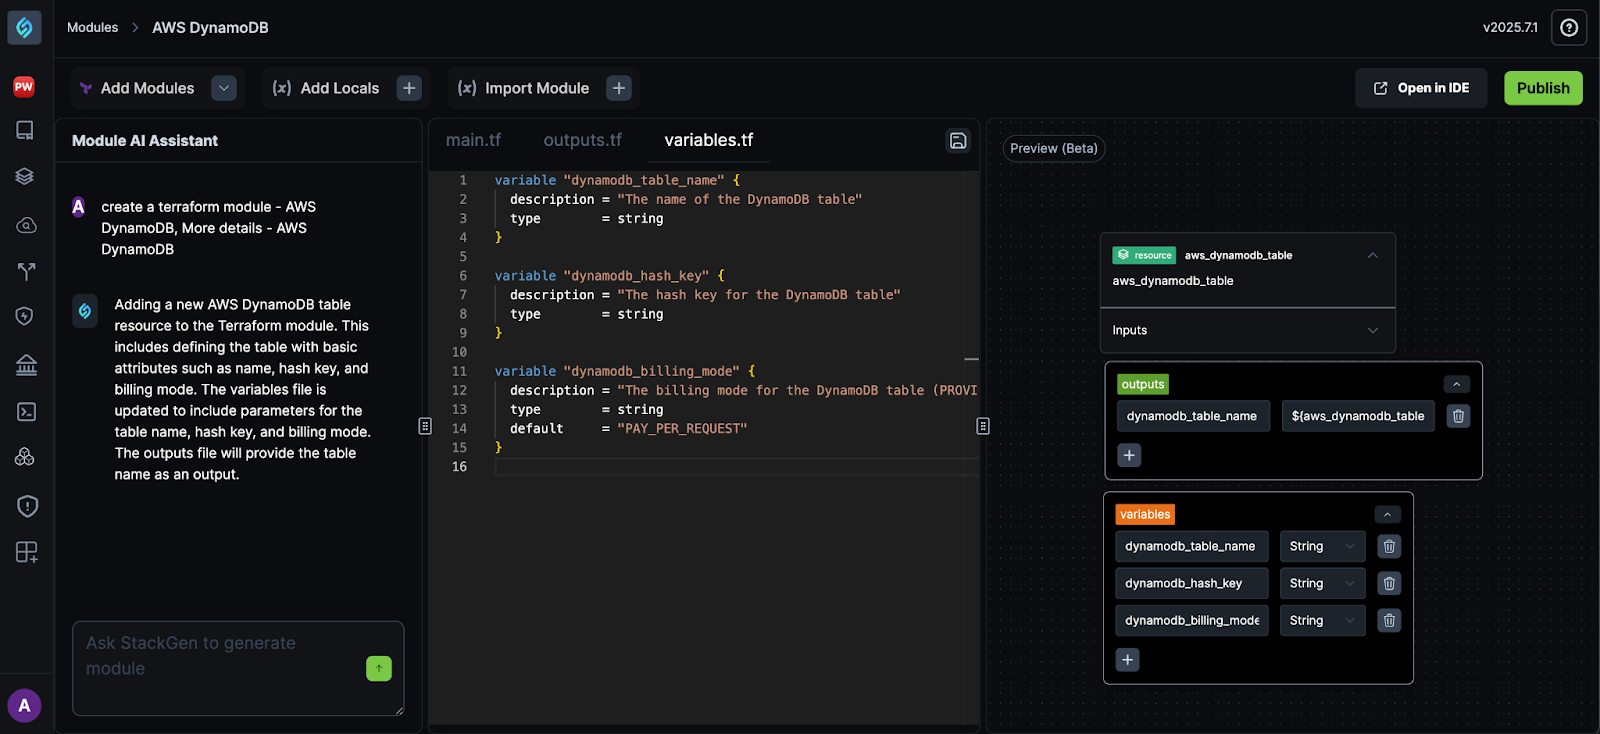
The Code Editor supports editing three main Terraform files:
main.tf: Contains your primary resource definitions and provider configurations.variables.tf: Defines input variables to make your module configurable.outputs.tf: Declares outputs that other modules or configurations can reference.
You can switch between these files by selecting the tabs across the top of the editor.
Features
- Syntax Highlighting: Keywords, resource types, strings, and comments are color-coded for better readability and fewer errors.
- Inline Comments: You can add comments using // to document your configuration.
- Dynamic Variables: Reference variables in your configuration using the var. syntax (for example, var.region).
- Live Editing: Edit files directly in place. Changes are immediately reflected in the module preview and saved with your module.
- File Tabs: Quickly toggle between main.tf, variables.tf, and outputs.tf to keep your module organized.
- Visual Preview (Beta): On the right side, you’ll see a visual representation of your module’s variables and outputs to help you understand dependencies at a glance.
Here's an example written in the same style as your reference, for the aws_dynamodb_table resource:
Example: When you create a new module, the editor generates a scaffolded main.tf file. You can extend this file by adding resources such as EC2 instances, S3 buckets, or DynamoDB tables.
// main.tf for your module
// Add your AWS resources here

resource "aws_dynamodb_table" "example" {
  name         = var.dynamodb_table_name
  billing_mode = "PROVISIONED"
  hash_key     = var.dynamodb_hash_key

  attribute {
    name = var.dynamodb_hash_key
    type = "S"
  }

  point_in_time_recovery {
    enabled = true
  }

  server_side_encryption {
    enabled = true
  }

  tags = var.tags
}
This configuration creates a DynamoDB table with:
- A provisioned billing mode,
- A hash key defined by a variable,
- Point-in-time recovery enabled,
- Server-side encryption turned on,
- and Custom tags provided through a variable.
④ Preview (Beta)
Click to view
After saving your changes in the editor, you can preview your module in the preview pane. The Preview Pane provides a visual representation of your module’s structure. It helps you quickly understand and verify the relationships between your variables, resources, and outputs.
The Preview Pane displays a dynamic, graphical view of:
-
Variables,
-
Resources,
-
Outputs,
-
and Dependencies between them.
This visualization updates as you edit your Terraform files in the Code Editor, allowing you to see how your configuration evolves in real-time.
Features
-
Module Diagram: Each key component such as variables, resources, and outputs, appears as a node in the diagram.
-
Interactive Nodes: You can expand or collapse nodes to explore the details of each element. For example, clicking the
variablesnode will list all defined input variables. -
Live Sync: Any changes you make in the editor are immediately reflected in the preview, helping you catch errors and validate your setup as you go.
-
Dependency Visualization: As you connect resources and reference variables or outputs, the Preview Pane shows the dependency lines between components.
Use the Preview Pane to confirm that:
- All required variables are defined and connected,
- Resources are properly linked to inputs and outputs,
- and Your module structure is clear and reusable.
If something doesn’t look right, return to the Code Editor to adjust your configuration and click Save.
⑤ Open in IDE
Click to view
The Open in IDE button (top right corner) lets you seamlessly transfer your Terraform module code from the visual Module Editor interface into a full development environment. When you click Open in IDE, you get options to open your module project in an external code editor:
-
Open in VSCode: Instantly launches Visual Studio Code, the popular code editor.
noteYou will need to install the StackGen Extension for VS Code via the VS Code Marketplace.
-
Coming soon: We will start supporting the following IDEs over the next releases.
- Cursor
- NVIM
- WindSurf
Check out the documentation on Open in IDE
⑥ Publish
Click to view
Once you click Publish, your custom module becomes available under the Catalog list so that it is available to you for use within your workspace or Project scope.
- Check for compliance: You can scan your module via the catalog page, thus ensuring that your modules are compliant with all the benchmark policies. Check out how to Scan your Modules.
- Versioning and Reuse
- Every Publish creates a new module version.
- Published modules are reusable across your appStack via Catalog.