Install and Configure Your StackGen-Backstage Plugin
This guide walks Backstage administrators through the steps required to install and configure StackGen plugins within a Backstage application. It covers setting up the necessary yarn registry configuration, installing frontend and backend StackGen plugins, and applying essential configuration changes. It outlines the required frontend code updates and explains how to manage StackGen mappings that allow users to interact with appStacks effectively.
1. Set up Yarn Configuration
First, the admin needs to set up the yarn configuration in the Backstage app to install the plugins.
The scope for the stackgenhq npm registry needs to be set in the Backstage app's yarnrc.yml file. The StackGen organisation will provide the REGISTRY_AUTH_TOKEN.
npmScopes in your yarnrc.yml:
  stackgenhq:
    npmAuthToken: "${REGISTRY_AUTH_TOKEN}"
    npmRegistryServer: "https://npm.pkg.github.com"
2. Install StackGen Plugins
After setting up the registry, the plugins can be installed using the following commands:
- Install the frontend plugin:
yarn --cwd packages/app add @stackgenhq/backstage-plugin-stackgen - Install the backend plugin:
yarn --cwd packages/backend add @stackgenhq/backstage-plugin-stackgen-backend
3. Configure Your Backend Plugin
For the backend plugin, you need to add the following configuration:
stackGen:
baseUrl: "${BACKSTAGE_ADAPTER_URL}"
apiToken: "${STACKGEN_PAT}"
allowedTeams: ""
- The
STACKGEN_PATcan be retrieved from the StackGen portal. - The
BACKSTAGE_ADAPTER_URLwill be provided by the StackGen team. allowedTeamsis optional so by default, all the teams theSTACKGEN_PAThas access will be available. Access can be restricted to a few teams by adding the team UUIDs to theallowedTeamslist to restrict access to specific teams.
Example configuration for allowed teams
stackGen:
  baseUrl: "${BACKSTAGE_ADAPTER_URL}"
  apiToken: "${STACKGEN_PAT}"
  allowedTeams:
    - 20f0e210-15ce-4d2c-9e29-0555bffee7bc # these will be uuids
    - 20f0e211-15ce-4d2c-9e29-0555bffee7bd
4. Modify Frontend Files
Once you’re done with the configuration, you’ll need to modify the following files in the backstage frontend app:
In the /packages/app/src/App.tsx file:
-
Add the following to your imports:
import { StackGenPage } from '@stackgenhq/backstage-plugin-stackgen'; -
Add the following in the routes:
<Route path="/stackgen" element={<StackGenPage />} />
In the /packages/app/src/components/Root/Root.tsx file:
-
Add this to the file:
import { StackGenIcon } from '@stackgenhq/backstage-plugin-stackgen'; -
Add the StackGen sidebar item:
<SidebarItem icon={StackGenIcon} to="stackgen" text="StackGen"/>
5. Start the Backstage App
You can now start the Backstage app and configure the mappings so your teams can start using it. Mappings have type associations that map the Backstage component and the resource’s spec.type field with the StackGen resource type.
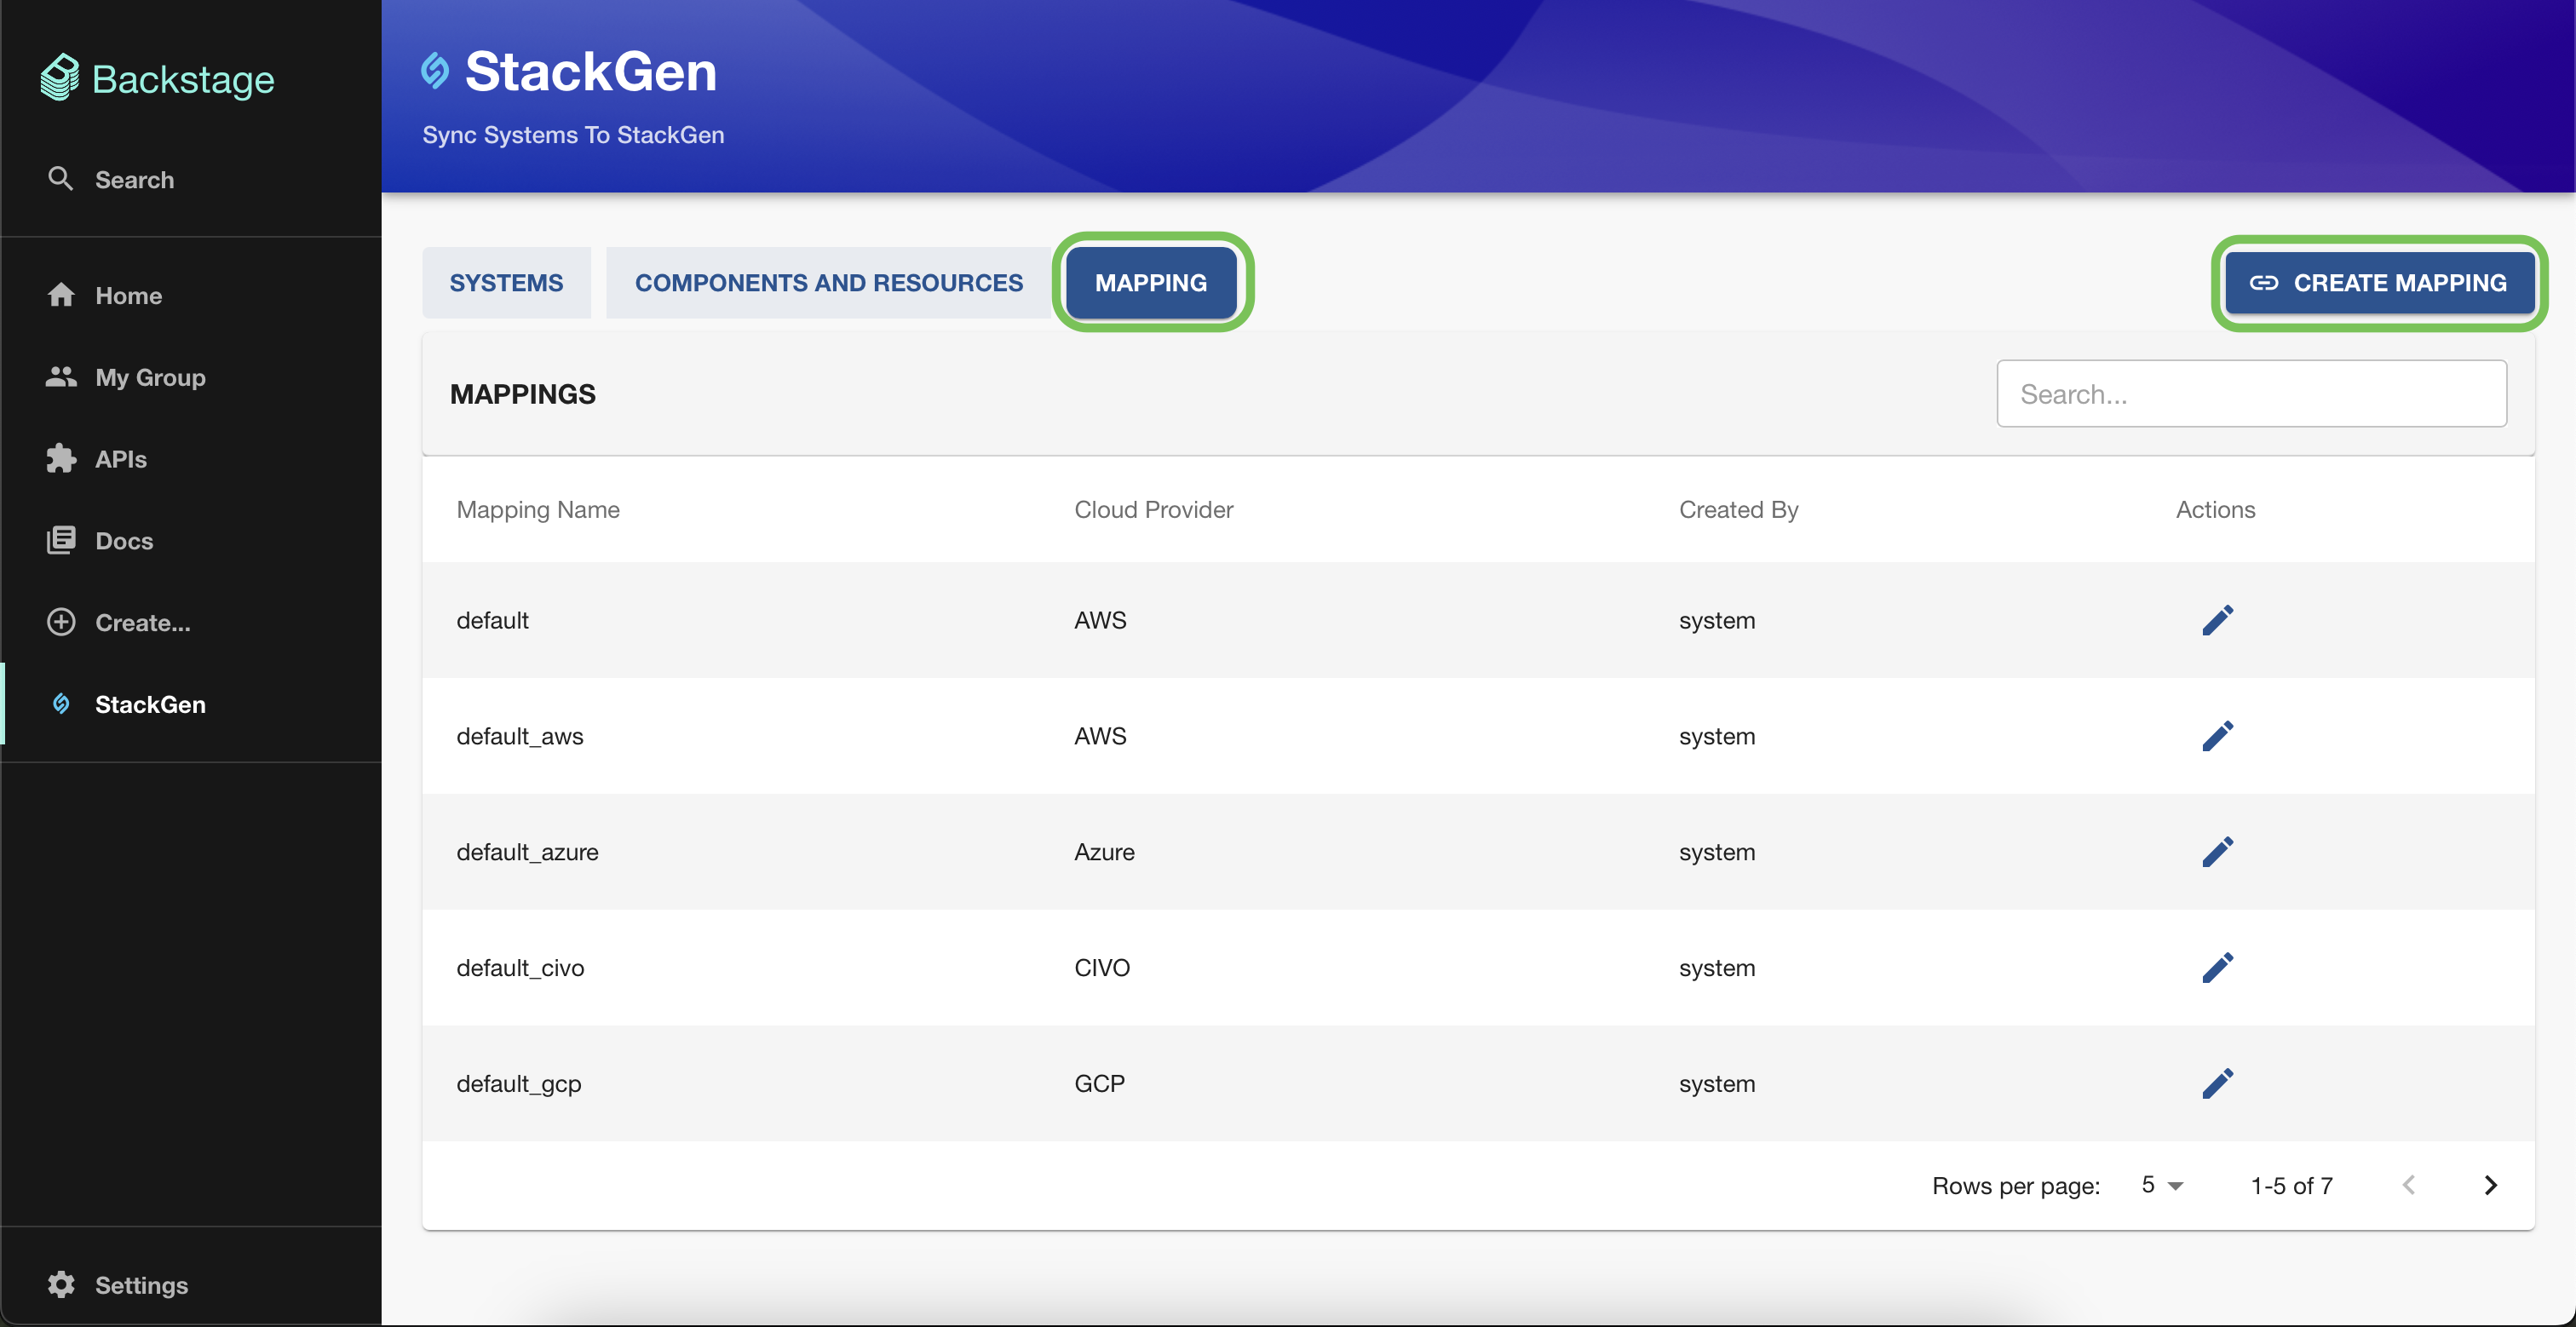
Important Considerations
- Default Mappings: for cloud providers supported by StackGen will be available. These mappings can be edited, and you can add more type associations.
- You cannot delete default mappings.
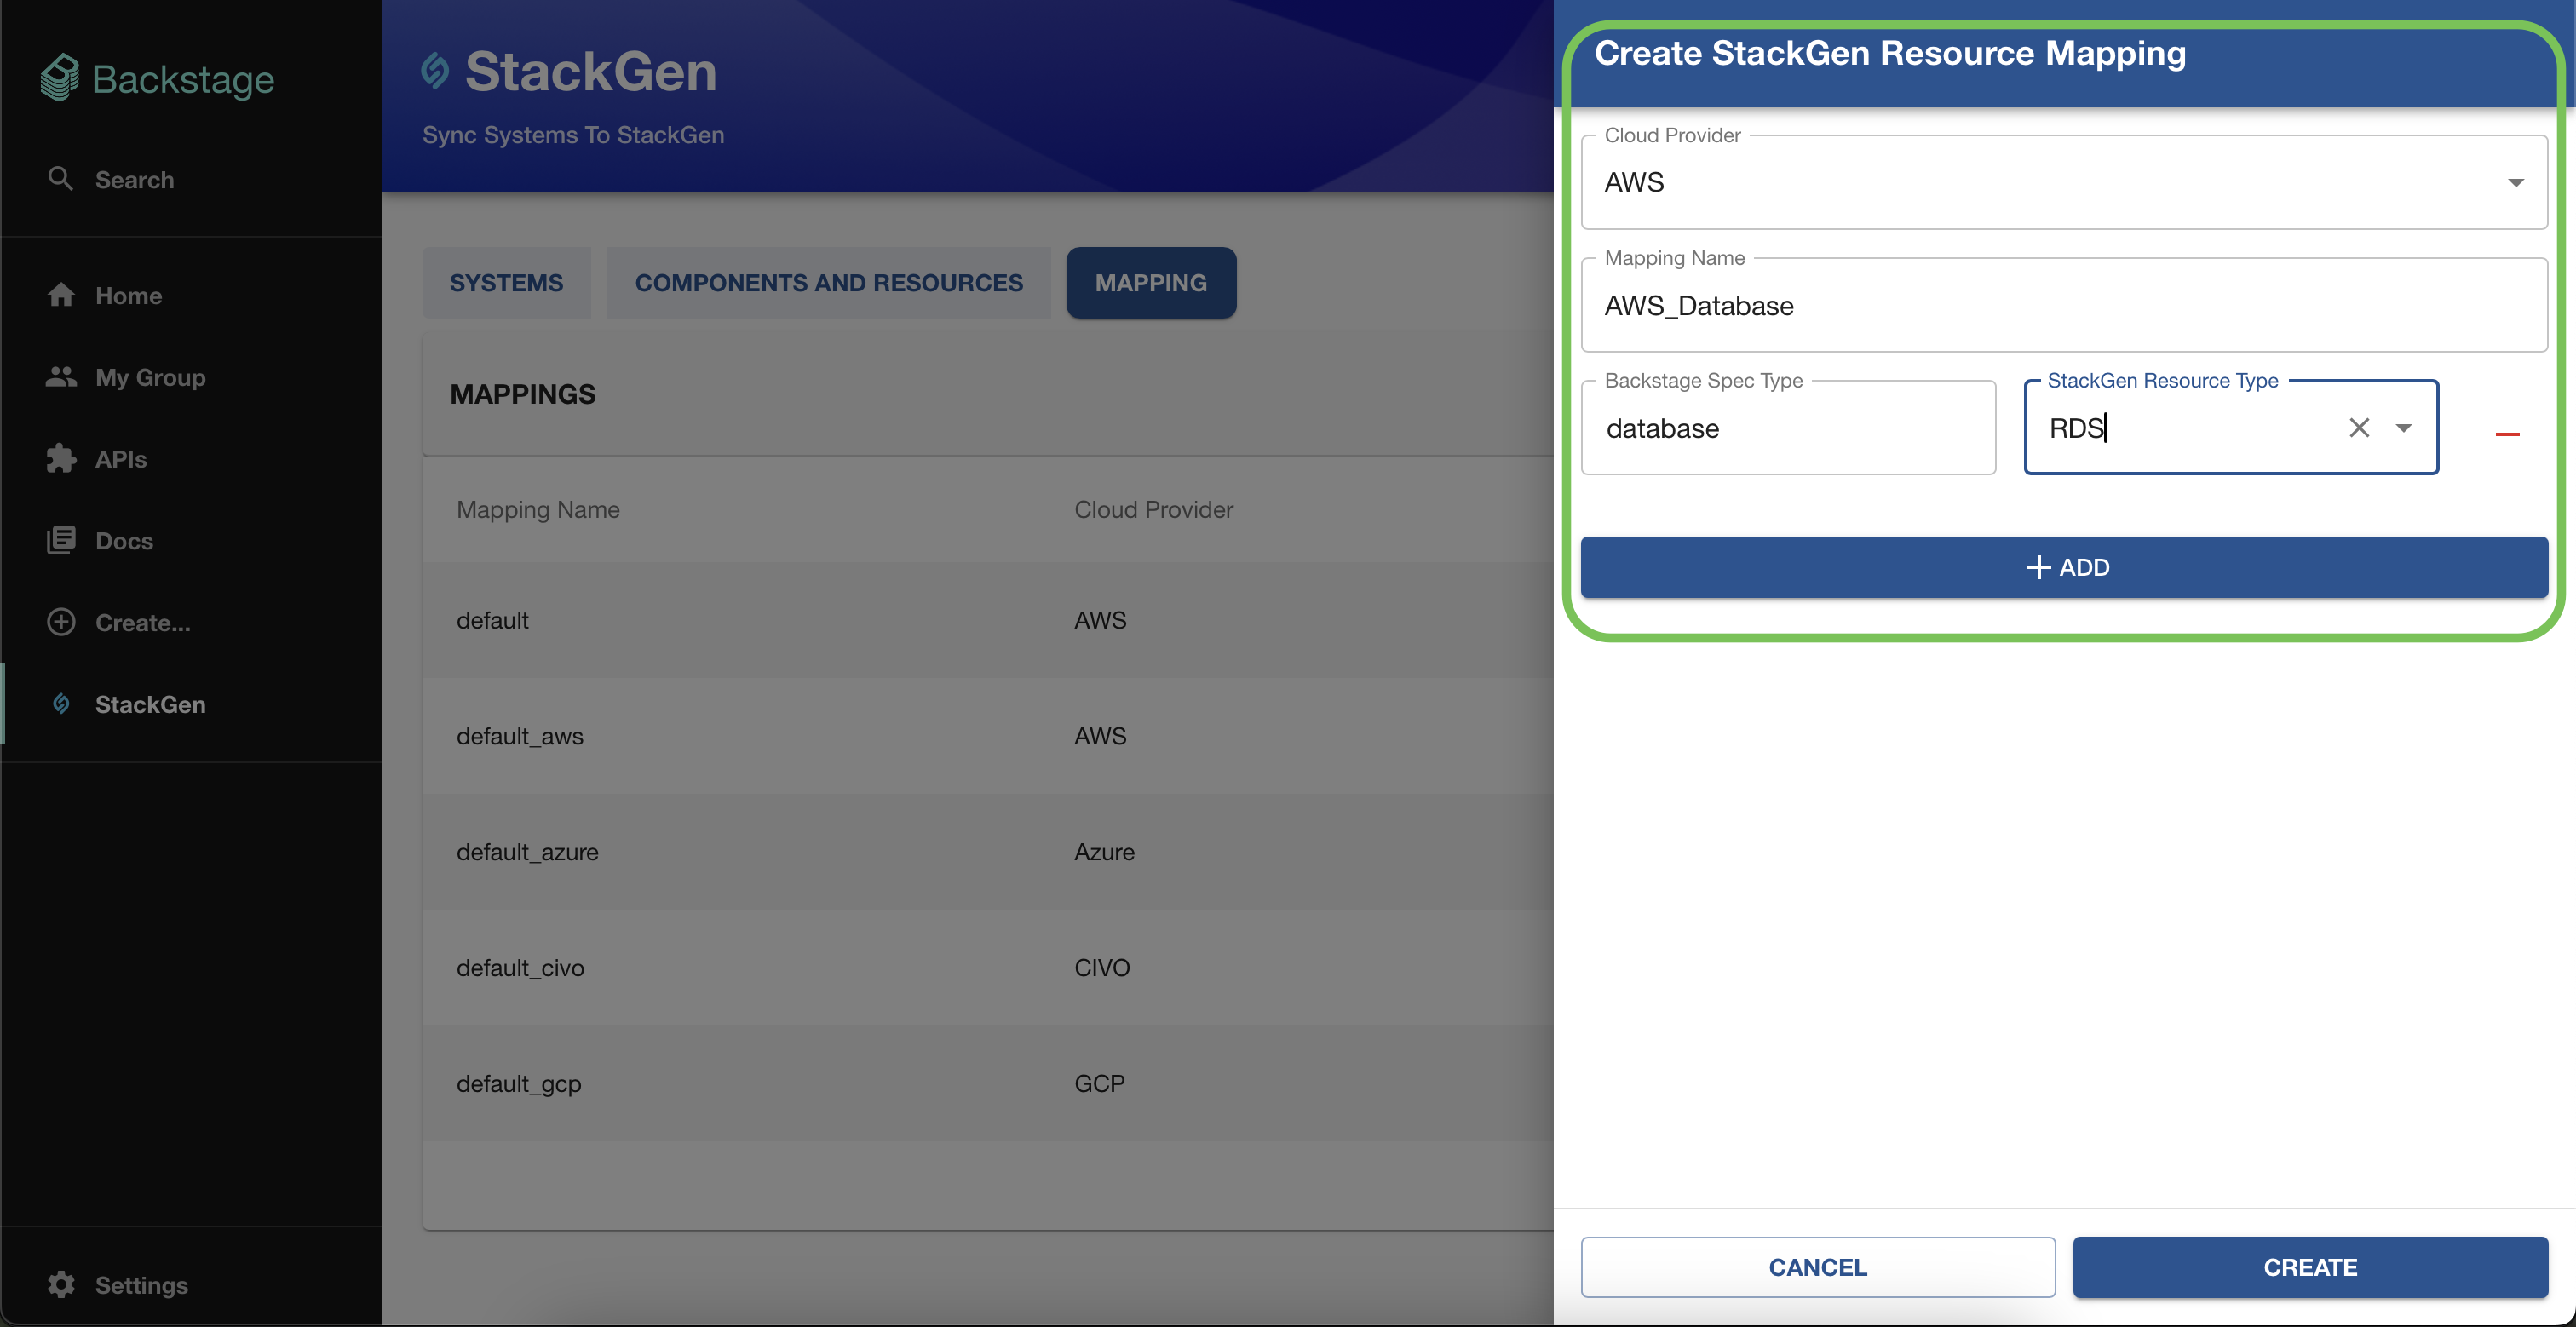
- User-Generated Mappings:
- You can create additional mappings as required.
- Your Backstage users can choose mappings while creating and updating an appStack. These mappings will be stored in the database that Backstage creates for each plugin.
- Backstage users can also edit the mappings as required.
- If the Backstage app is using an in-memory database, the mappings will not persist across restarts.