StackGen Settings
The Settings page in StackGen provides a structured way to configure profile, user roles, security, collaboration, and governance.
Navigating to the Settings Page
To navigate to the StackGen Settings page:
- Click the dropdown menu next to your Username.
- Select Settings.
The StackGen settings page is grouped into two sections:
Let's look at these sections in detail.
Account
Click to view
Profile Details
You can update personal information such as name, email, and company name.
License Information
You can find information about your StackGen Tenant Id here.
Personal Access Tokens (PATs)
Generate and manage secure authentication tokens for API access and automation. To learn more about PATs, refer to the Personal Access Token article.
Team Collaboration
Members
Click to view
StackGen onboards members via the Org-specific IDs used while logging-in to the platform. You can assign roles and teams via the Members section.
To learn more about roles, refer to the article RBAC Levels and Roles.
Teams
Click to view
Group users into Teams to streamline access control and collaboration on projects. You will be able to view and manage teams directly from the Teams page under Settings.
Create a Team
All team management actions, such as creating teams, assigning roles, and managing team membership, can be completed within this dedicated interface without leaving the page.
To create a new team, follow these steps:
- Click + New Team.
- Enter the following details:
- Team Name (Required): A unique name for your team.
- Team description(Required): A brief description of the Team like purpose or group, etc.
- Add members: Use the Add Members drop-down to search and select the Members you want to add to your Team.
- By default, StackGen assigns the Developer role. To change this, click the Role within team dropdown to change the role assigned.
- Once done, click Create Team.
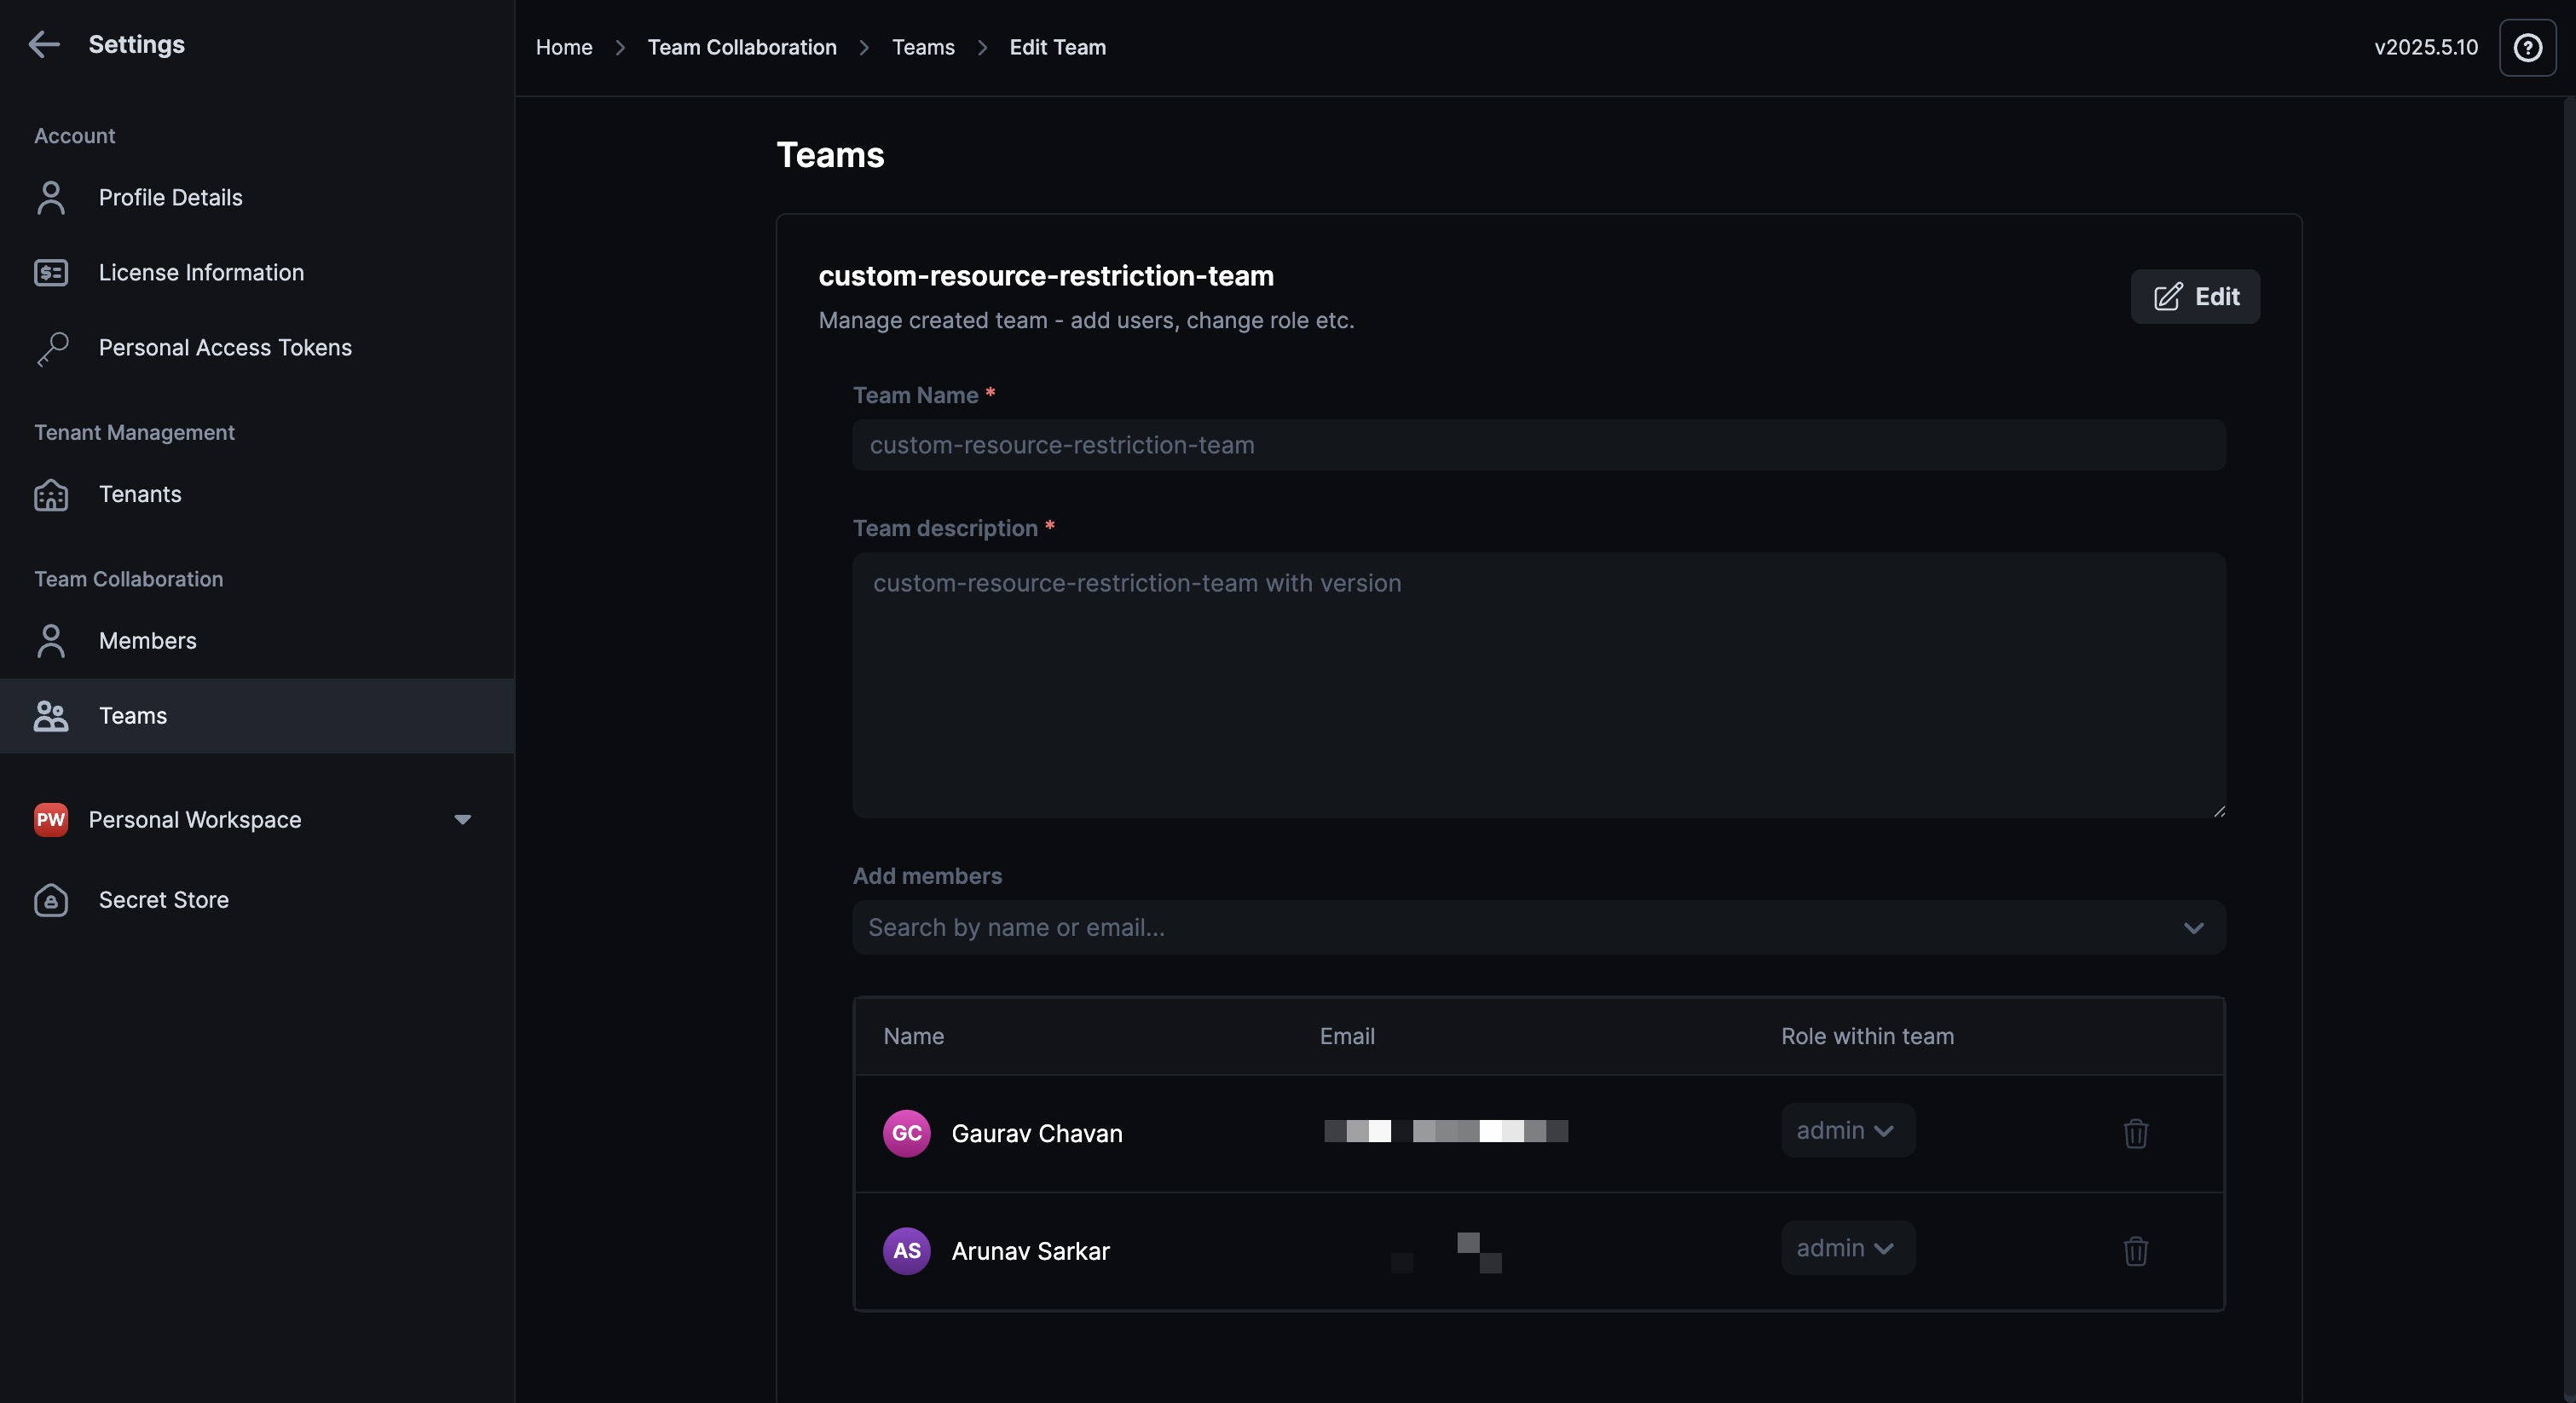
Modify a Team
To edit an existing team, add members, or edit their roles, follow these steps:
- From the Settings page, navigate to Teams page.
- From the list of available Teams, click the Team that you want to edit.
- Click Edit to modify the Team details.
- Once finished, click Done.
Delete a Team
To delete a team, click the ellipse icon next to the team under the Actions column, and click Delete
Teams Assigned
Click to view
The Teams Assigned dropdown lets you view the teams that you've been assigned to. Use this drop-down to switch between teams and create your infrastructure that is aligned with the policies and configurations assigned to the team.
Personal Workspace
Consider using your personal workspace when you're working on personal appStacks that you don't want to share with anyone else in your organization. You can organize multiple appStacks, assign policies, and generate IaC within a personal workspace. These are not exclusive of your role and accesses applied by your Administrator or DevOps.
Secret Store
Click to view
You can select a team from the Teams drop-down and then create the Secret Store.
The secret store lets you:
- Securely store sensitive credentials for your SCM provider.
- Share your secret store with your teams without compromising your credentials.
Secrets will be created under the respective teams you select from the Teams drop-down while creating the secret store. For example, let's say you create a secret within Team A and share it with Teams B,C, and D:
- If you navigate to Team B from the Teams drop-down and delete the shared secret via the ellipsis ⋮ icon under the Actions column, the secret will no longer be shared with Team B but will still be available under Teams A,C, and D.
- If you delete the shared secret from Team A, it will also be deleted from Teams B, C, and D.